What Homeowners Should Know About Surface Levels, Texture Options, and Results
Drywall finishes affect how every wall and ceiling looks after a renovation. The finish controls light reflection, paint quality, and how smooth a space feels. Many homeowners focus on paint color but forget the surface beneath it. That surface choice can expose flaws or hide them. Knowing the finish levels helps you plan better and avoid repairs later. Each finish has a purpose based on room use, lighting, and budget. When you understand these details, your renovation choices become clearer and easier to manage.
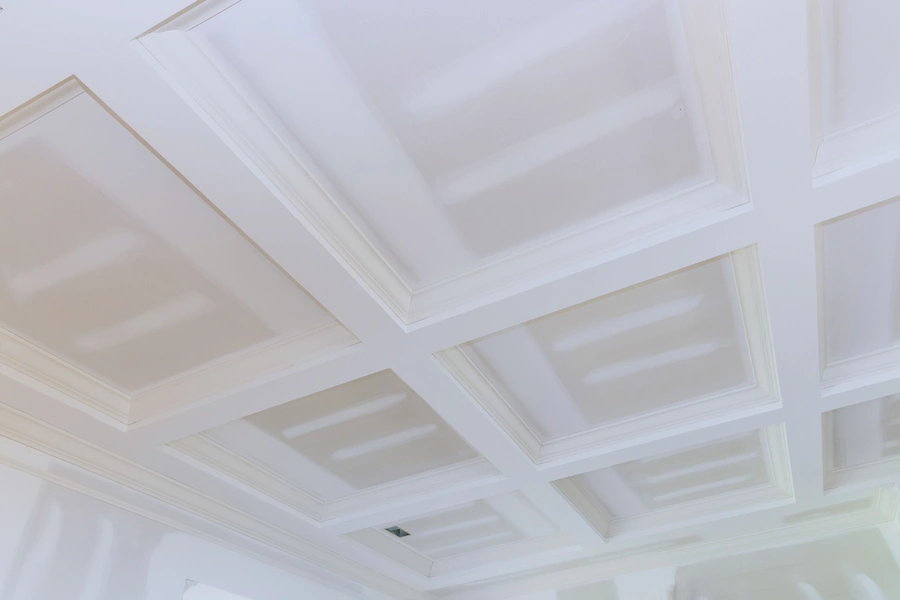
With Drywall Finish Levels Explained From Start to End
Drywall uses five finish levels that range from basic to very smooth. Level 0 has no finish and suits temporary spaces. Level 1 includes taped joints and works for hidden areas. Level 2 adds a thin coat and fits garages. Level 3 prepares walls for heavy textures. Level 4 is the most common for homes and allows flat paint. Many Drywall Services recommend level 4 for living spaces with normal lighting. This level balances cost and appearance for most renovation plans.
With Real Benefits Tied to the Right Finish Choice
Selecting the right finish improves both looks and function. Smooth finishes reflect light evenly and make rooms feel larger. Textured finishes hide small dents and seams. Proper finishing also helps paint last longer without peeling. Skilled Drywall Services can match finishes across old and new surfaces. That match keeps walls consistent after remodels or room additions. These benefits reduce touch ups and improve resale appeal.
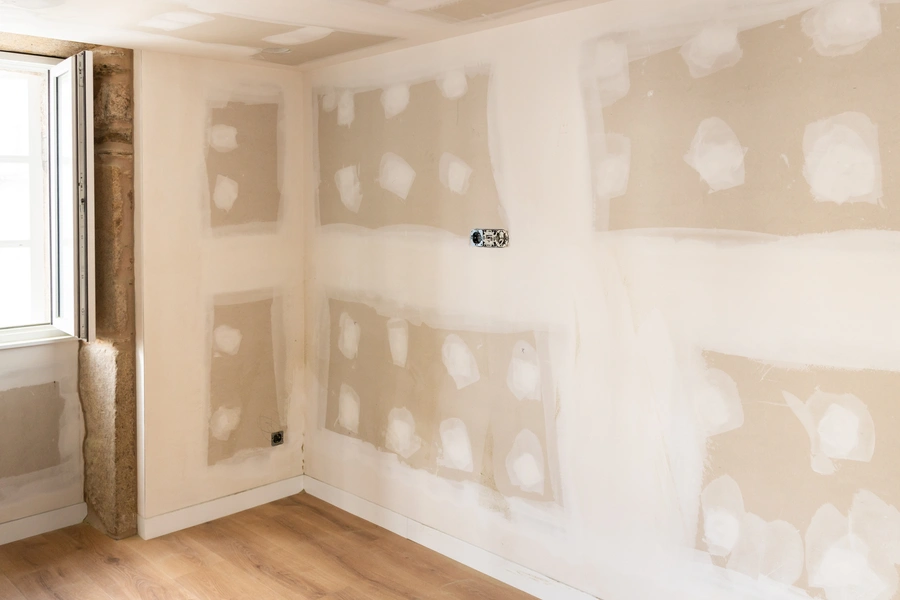
With Common Drywall Finish Problems Homeowners Face
Many issues come from choosing the wrong finish level. Bright lights can expose seams on low level finishes. Flat paint on rough walls can show marks. Uneven sanding causes shadows and lines. Moisture can also damage poorly sealed joints. These problems often lead to repainting or rework. Understanding limits of each finish helps prevent these issues.
With Practical Steps to Achieve A Clean Finish
Following a clear process keeps results consistent and smooth. Each step builds on the last and should not be rushed.
- Secure drywall panels to framing with proper spacing
- Tape joints using joint compound and paper or mesh tape
- Apply additional thin coats and let each layer dry
- Sand lightly between coats to remove lines
- Inspect under bright light before priming
With Best Practices That Improve Long Term Results
Professional results depend on habits, not shortcuts. These best practices help walls stay clean and strong.
- Use primer before paint to seal the surface
- Match finish level to lighting conditions
- Control dust during sanding for smoother coats
- Allow full drying time between layers
- Fix small flaws before final paint
With Industry Standards and Quality Expectations
Industry groups define finish levels to set clear expectations. The Gypsum Association publishes standards used by builders nationwide. These standards explain where each finish level works best. Inspectors often reference them during final walkthroughs. Following these guidelines protects homeowners from disputes. It also helps align results with contract terms.
With Cost Factors and Value Comparisons
Finish costs rise with labor time and skill required. Basic levels cost less but limit paint choices. Higher levels cost more but reduce future fixes. Consider value by room use. Living areas benefit more from smooth finishes than storage spaces.
- Lower levels save money but show flaws
- Mid levels balance cost and appearance
- Higher levels increase durability and appeal
With Smart Next Steps for Your Renovation Project
Based in Farrell, PA, we help homeowners plan finishes that fit each space. We focus on clear communication and proven methods. Renew Your Home LLC guides projects from planning through final inspection. We answer questions and explain options before work begins. Call (724) 261-0663 to discuss finish levels, timelines, and clear expectations for your renovation.